Decoding the Planet Zero Alphabet for Shinedown using Vue.js
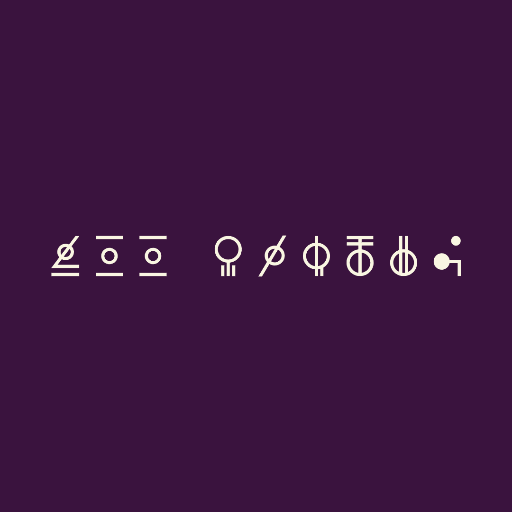
It doesn’t always have to be a big idea. The trick is to expand on your interactive marketing in ways that make your fans feel special, seen, and served. For instance, take this little project for Shinedown. The Planet Zero Decoder. This band went out of their way to design their own sci-fi alphabet for their album Planet Zero. Instead of keeping these symbols locked up in official marketing assets, we’ve built a simple utility app that allows fans to type messages and generate shareable assets using these unique characters. Now, the lore and theme of the record is in fans’ hands and they are tasked to spread the message: Planet Zero is coming.
Allowed Characters
The band provided symbols for each character of the alphabet and the numbers 0-9. These were loaded into the Vue app as SVG image files and then as an array of possible characters which the user could type [“A”, “B”, “C”]. When the user types into the text input, we make sure the last character typed is one of the allowed characters, blank, or space and update the visual preview. Any other characters are ignored. This is all accomplished in a Vue watcher.
text(newText, oldText) {
  // Get last character
  let lastCharacter = newText.slice(-1).toUpperCase()

  // If the last character is a possible character, space, or blank
  if (characters.includes(lastCharacter) || lastCharacter == ‘ ‘ || newText == ‘’) {
    // Update preview
    updatePreview()

  } else {
    // Reset text to old text
    text = oldText
  }

}
Then, it is helpful to split the text into “words” for rendering in a computed property. These words will actually be an array of letter indexes so we can associate letters with characters,
words() {
  // Split text into words
  let words = text.split(‘ ‘)

  // Get letter indexes
  let letterIndexes = words.map(word => {
    // Split word into array of letters
    let letters = word.split(‘’)

    // Return matching letter indexes
    return letters.map(letter => {
      return characters.findIndex(character => character === letter.toUpperCase())
    })
  })

  // Return indexes
  return letterIndexes

}
Now that we’ve filtered a user's input to only allow certain characters. We can draw them onto an HTML canvas.
Render Characters
In general, you can imagine looping through each of these characters and using the drawImage function of HTML canvas to draw them. However, we must also take into account the overall width of our canvas and do some dynamic sizing to make sure the phrase fits in a single horizontal line. The bulk of this work is accomplished by a series of computed properties. For instance, we’ll want to know the max scale of the character based on the size of the canvas and known vertical letter spacing size.
characterScale() {
  // Max character scale based on letter space
  return (1080 * 0.6) / letterSpace[1]

}
We can determine the overall width of our text by looping through each word’s letters and incrementing based on their width scaled.
textWidth() {
  // Establish width
  let width = 0

  // Loop through words
  words.forEach((word, i) => {
    // Loop through letters
    word.forEach((letter, i) => {
      // Increment width based on scaled character width
      width += characterImages[letter].width * characterScale

      // If not last letter
      if (i < word.length - 1) {
        // Increment width based on scaled letter space
        width += letterSpace[0] * characterScale

      }

    })

    // If not last word
    if (i < words.length - 1) {
      // Increment width based on scaled word space
      width += wordSpace[0] * characterScale

    }
  })

  // Return total width
  return width

}
Then, taking into consideration a padded canvas, we can determine if we’ll use the max character scale or scale down the character to fit it in the available space.
textScale() {
  // If text width is greater than padded width
  if (textWidth >= paddedWidth) {
    // Make character scale smaller to fit
    return characterScale * (paddedWidth / textWidth)

  } else {
    // Return max character scale
    return characterScale

  }
}
Finally, once the text gets scaled, we need to determine this new scaled text width.
scaledWidth() {
  // Calculate scaled text width
  return textWidth * (textScale / characterScale)

}
Now that we know the dynamic scale of all text, we can render it onto canvas. This involves looping through each words’ characters and drawing them based on an ever-incrementing text position variable. We know where to begin positioning letters because we know how long the entire phrase should be from the scaledWidth and that we’re aligning it to the center. So, from the center of the canvas, minus half of the scaled width, would give us the starting position.
// Start at 0 position
let textPosition = 0

// Loop through all words
words.forEach((word, i) => {
  // Loop through all characters
  word.forEach((character, i) => {
    // Draw character image
    context.drawImage(
      characterImages[character],
      centerPosition - (scaledWidth / 2) + textPosition,
      centerPosition - (characterImages[character].height * textScale / 2),
      characterImages[character].width * textScale,
      characterImages[character].height * textScale,
    )

    // Increment position based on scaled character width
    textPosition += characterImages[character].width * textScale

    // If not last letter
    if (i < word.length - 1) {
       // Increment position based on scaled letter space
       textPosition += letterSpace[0] * textScale

    }

  })

  // Increment position based on scaled word space
  textPosition += wordSpace[0] * textScale

})
There’s a bunch of ways to solve this problem but I quite liked the control of kerning and positioning my letters in this way. Some might argue that you should simply make a typeface out of the SVGs and that’s a solid solution also. I believe I rendered the text to a canvas which only included the text then I rendered that text onto a preview image and finally onto a shareable graphic fans could download. This gave me control over the variety of shareable image sizes we wished to generate.
Acknowledgements
Thanks to the teams at In De Goot and Hyperculture Marketing Group for their support and enthusiasm in bringing this to life. We have something much bigger launching soon.